
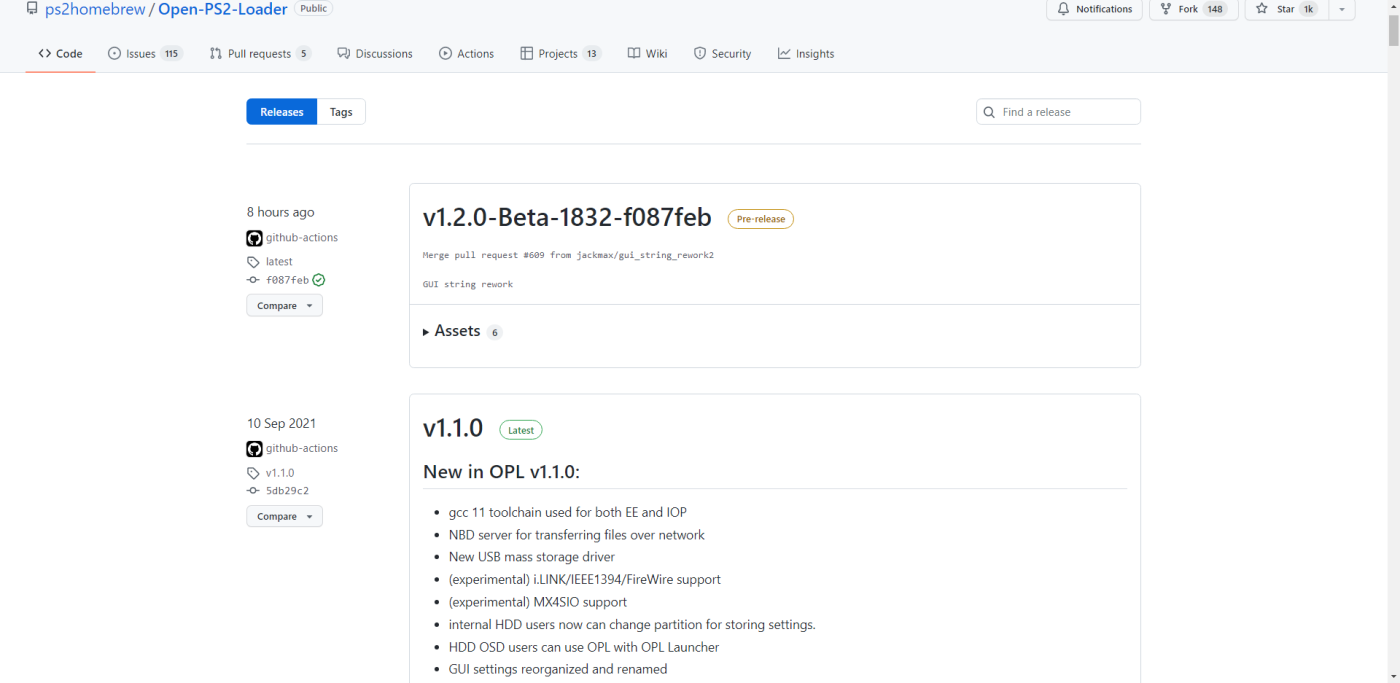
- Download the latest opl version(download)
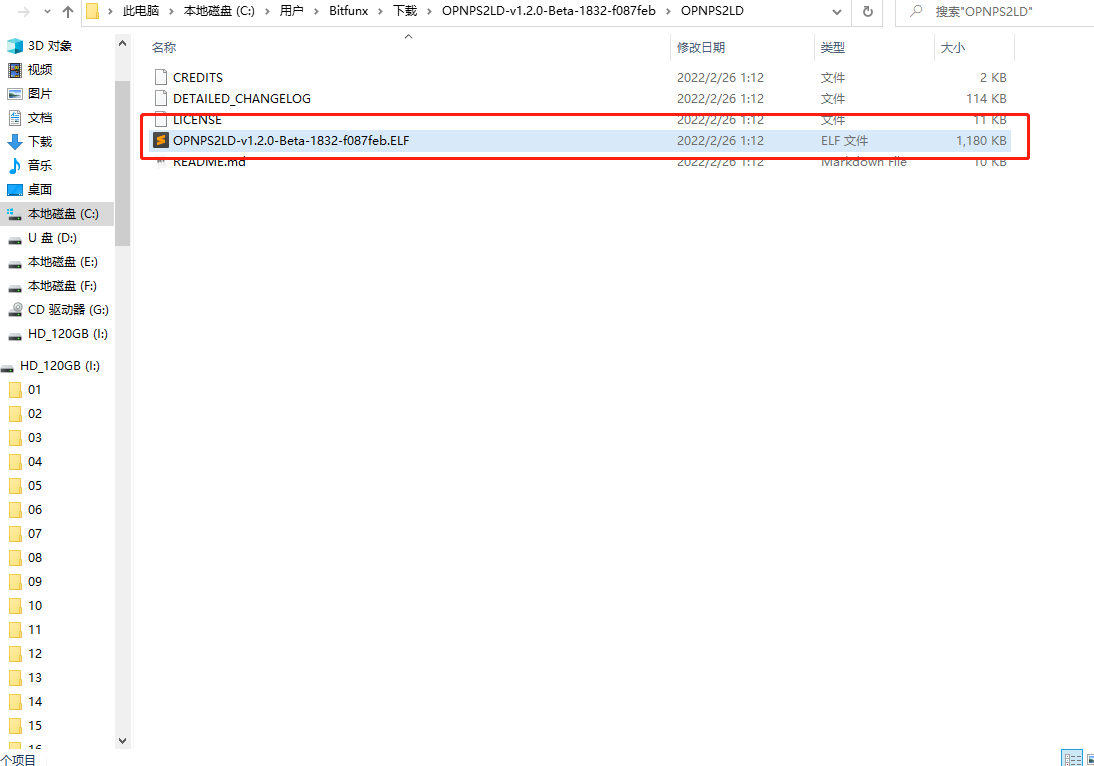
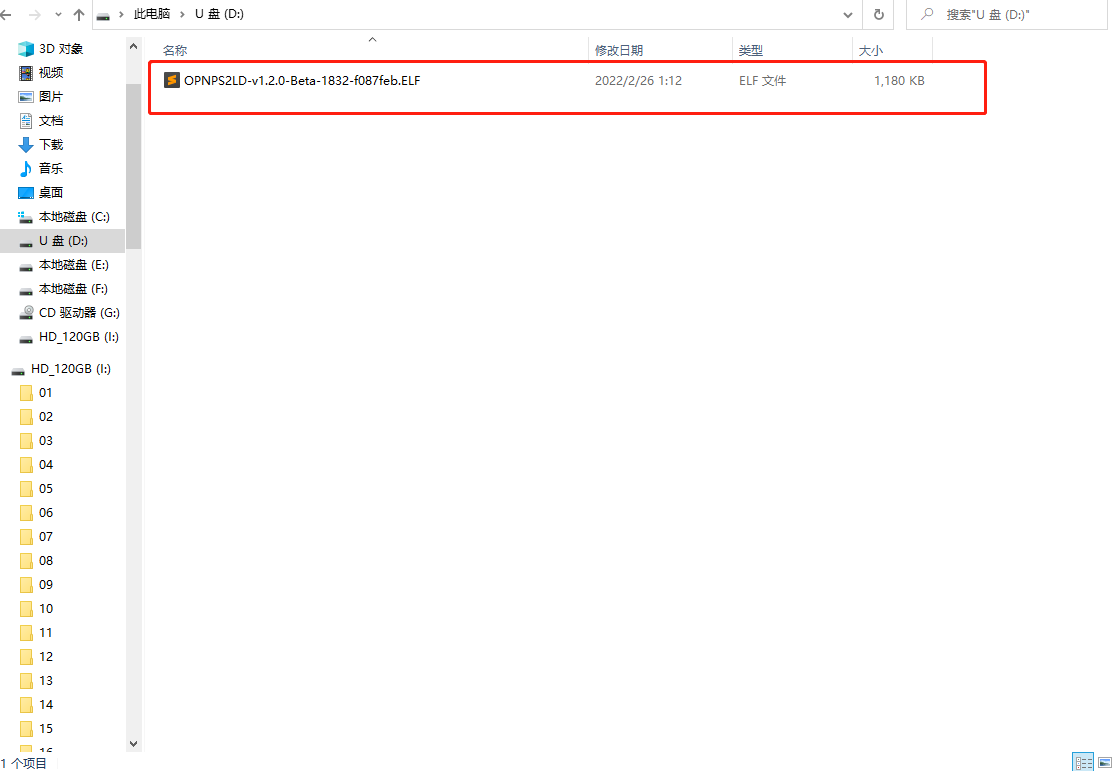
2、After decompressing the downloaded files, copy OPLELF to a USB disk in FAT32 format
3、Plug the FMCB into the PS2 host and turn it on
4、Insert the USB disk into the USB port of the PS2 host and select the Mass folder
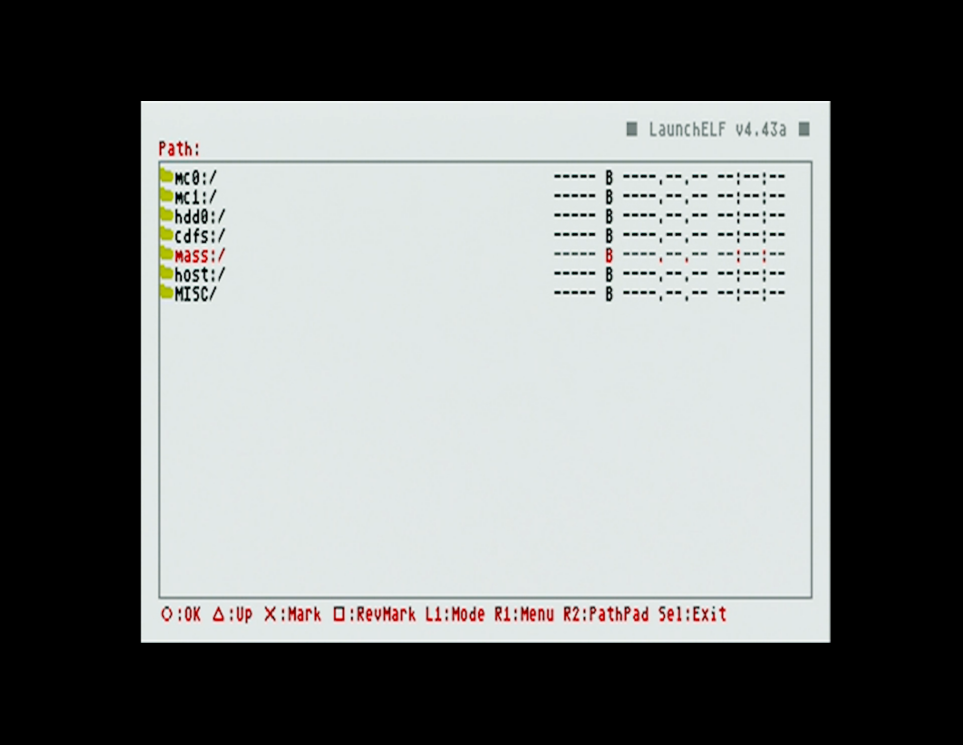
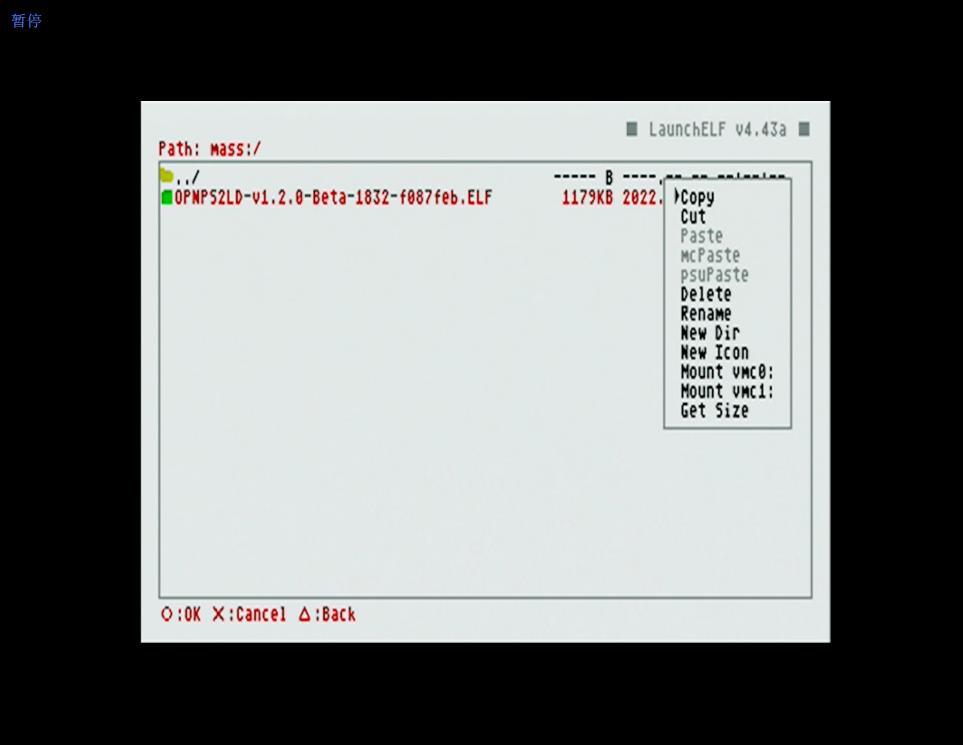
5、Select the OPL file, click the R1 menu key, and copy it
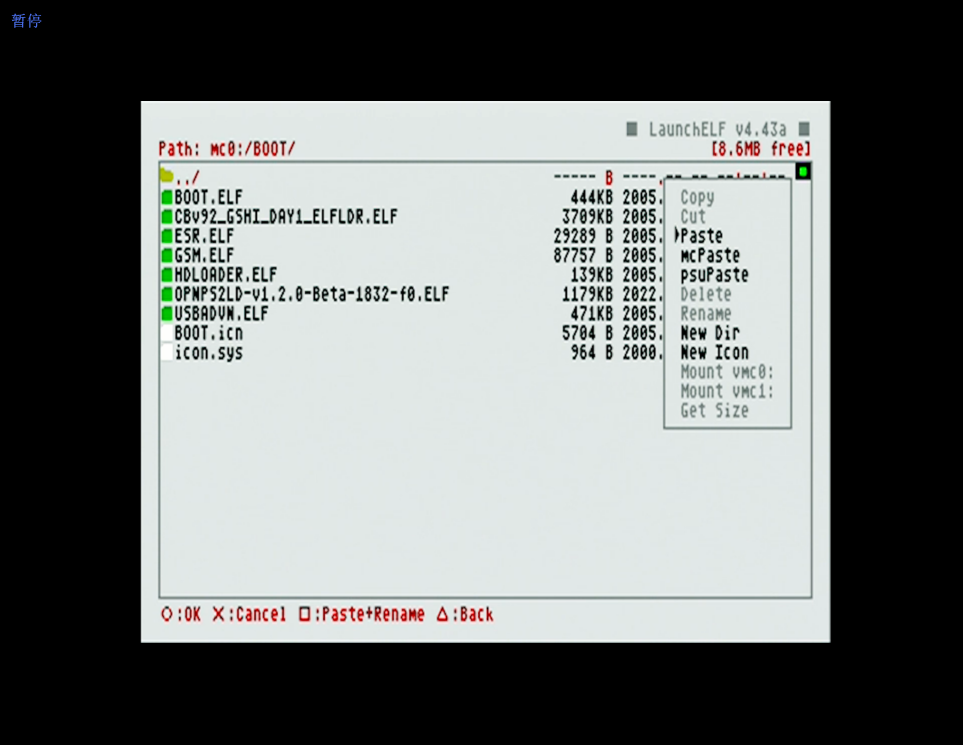
6、Go back to the previous level, enter the /MC0/BOOT file, and press R1 to paste the OPL file
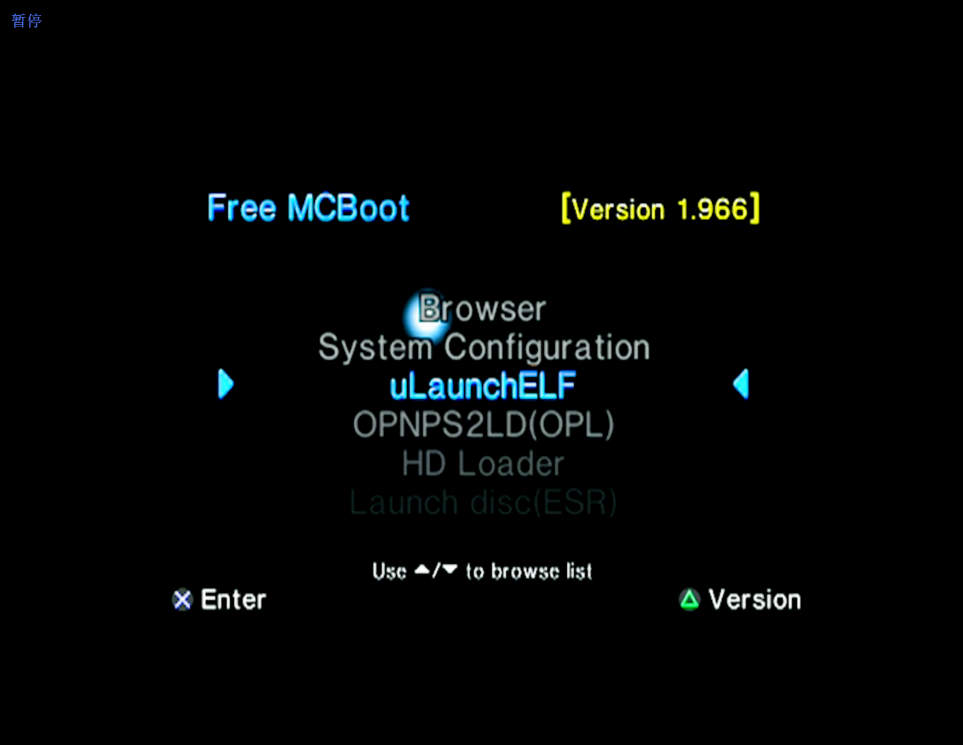
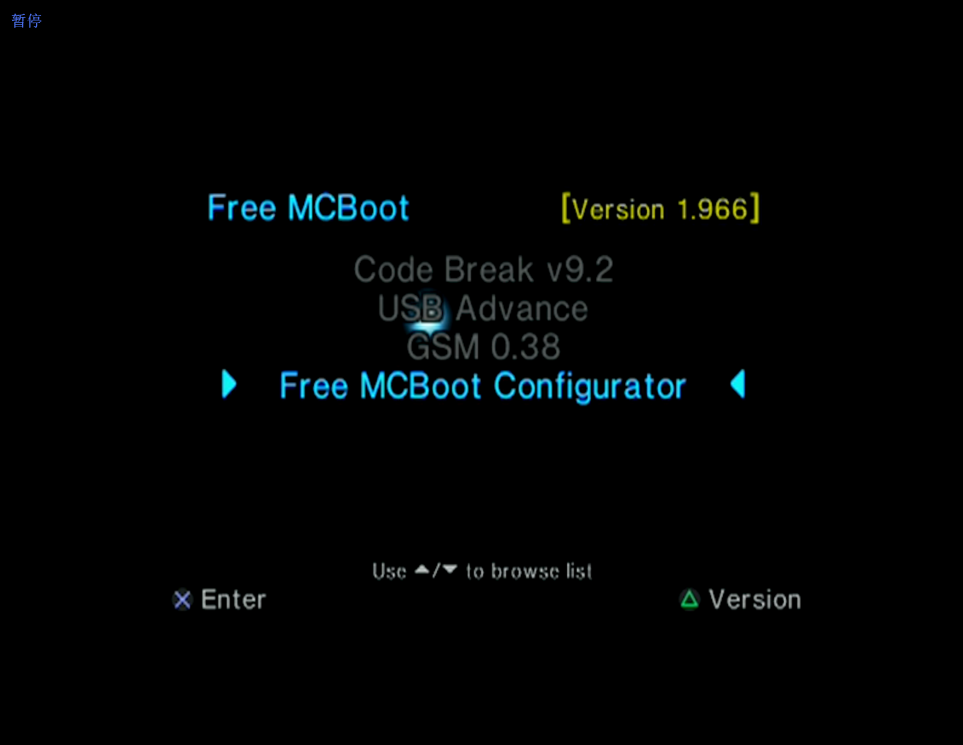
7、After the configuration, restart the host and select Free MCBoot Configurator on the main menu
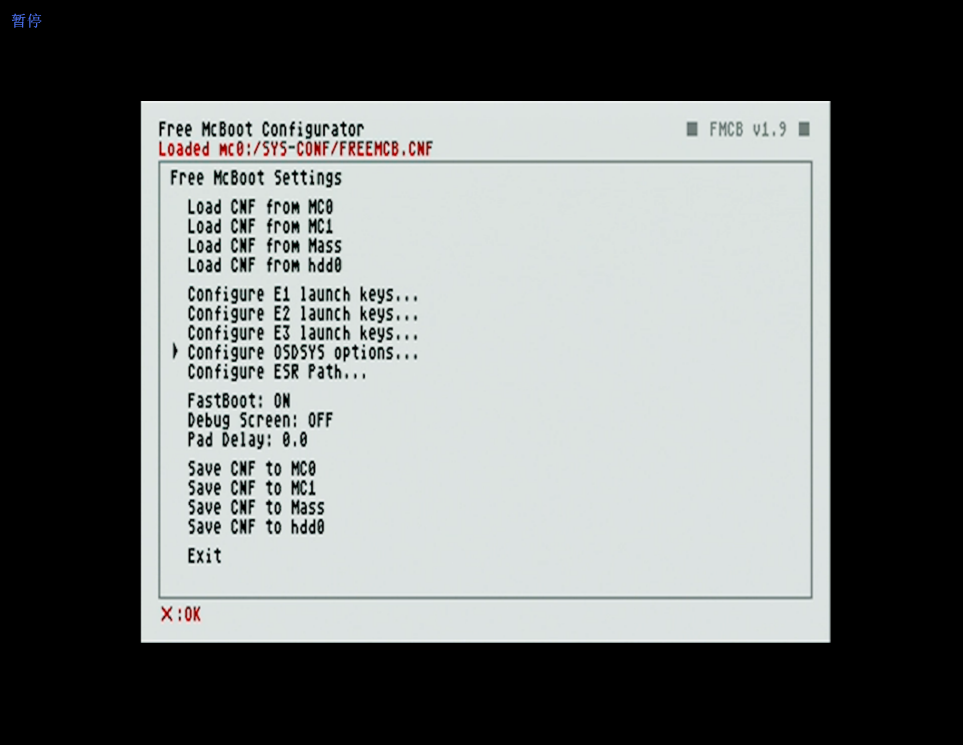
8、Select Configure OSDSYS Options to Configure the OPL file path
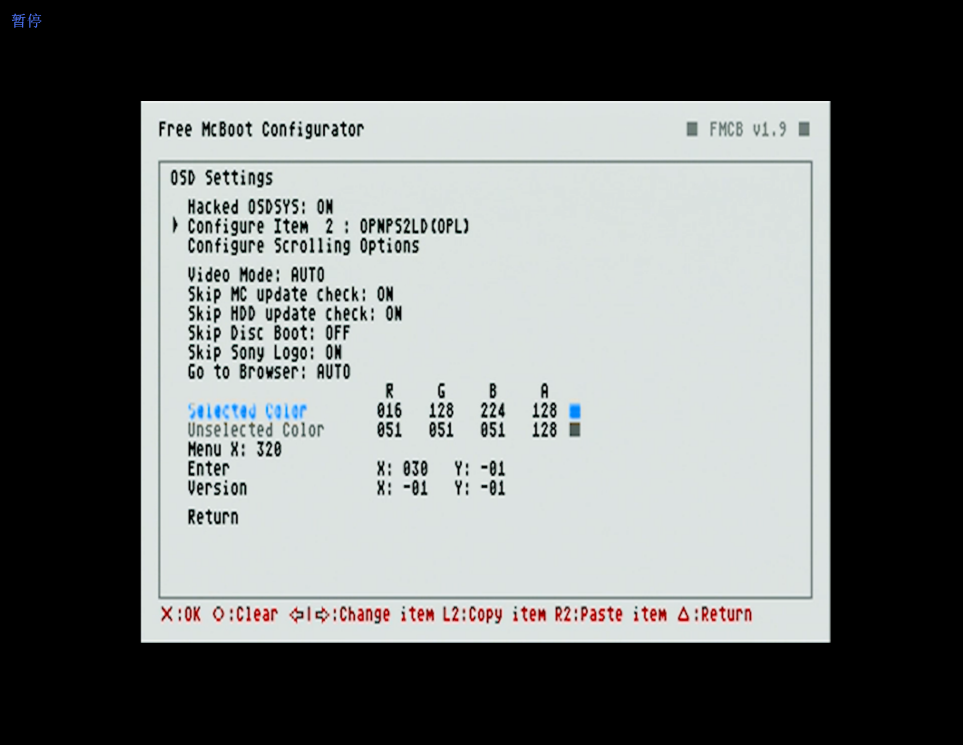
9、Using the right arrow key →, select Configure Item 2
10、Select Path1, click the mouth button, and select the OPL file according to the MC0/Boot path
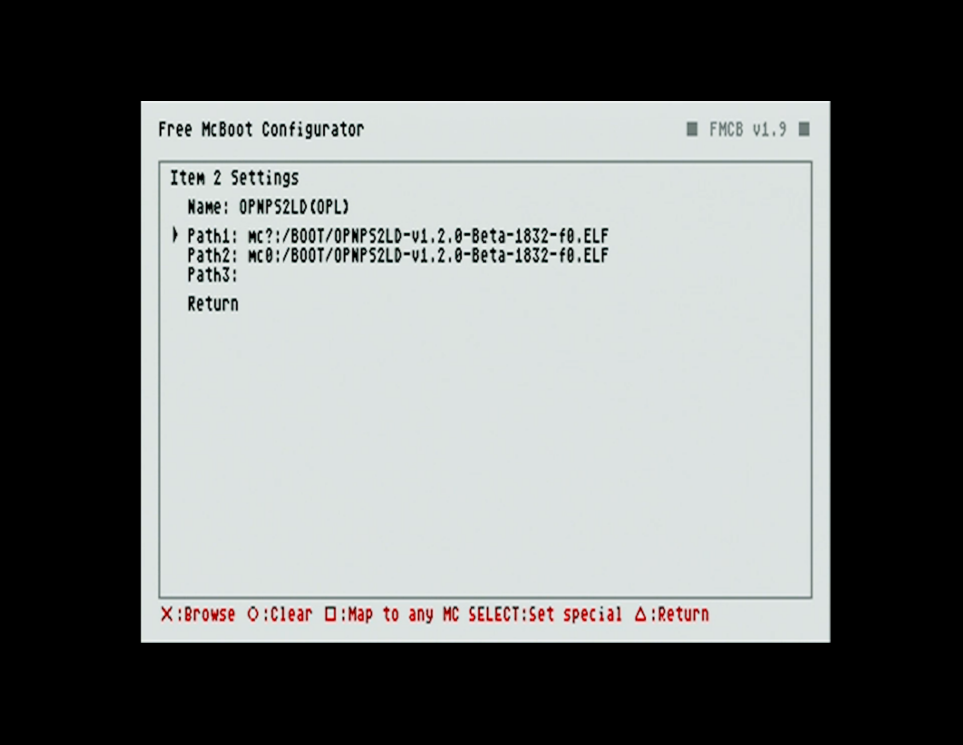
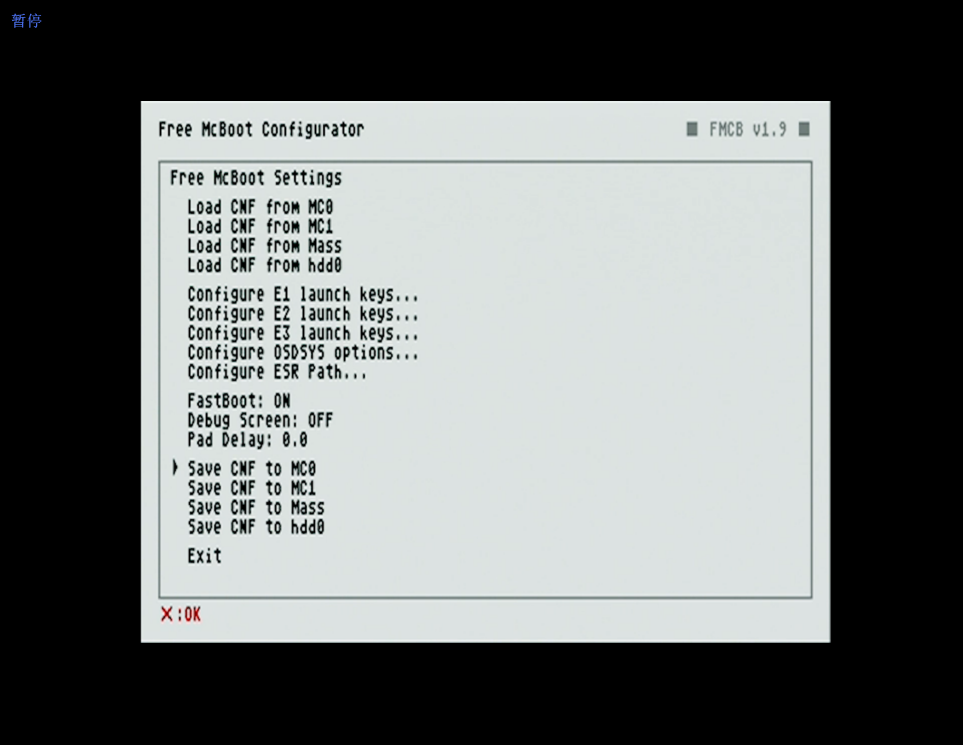
11、The following screen is displayed. Select Save CNF to MC0 to Save the Settings and restart to complete the OPL update.
Game installation tutorial